
About a week ago I hopped on Instagram stories and shared a quick look at how I organize my planner using time blocking. Ever since I can remember I’ve loved using planners, but always got way too wrapped up in how to organize them and never actually used them… Or at least didn’t really use them to their full potential. I wouldn’t classify myself as a perfectionist, but I am extremely Type A. I like everything to be organized and look cohesive when it comes to my planner. That’s where planners can sometimes get the best of me because I focus too much on how I am going to use it, instead of actually using it.
Am I crazy? Maybe.

I have read a handful of blog posts about using time blocking, but never really got the hang of it until now. I admit it can be kind of hard if your schedule is always changing – but try to figure out what works best for you. If you aren’t familiar with time blocking it’s essentially where you block out a time to do a certain task. It’s really great for productivity, and I love it!
The best part of time blocking is that you actually have set up actions for each goal. Without time blocking you have a massive to-do list and your goal is to get it done by 5 PM. That can be a little daunting, and 9/10 times you aren’t going to get everything done.
Using time blocking you have everything scheduled out and have blocked a certain time out to get certain tasks done.
WHAT I USE
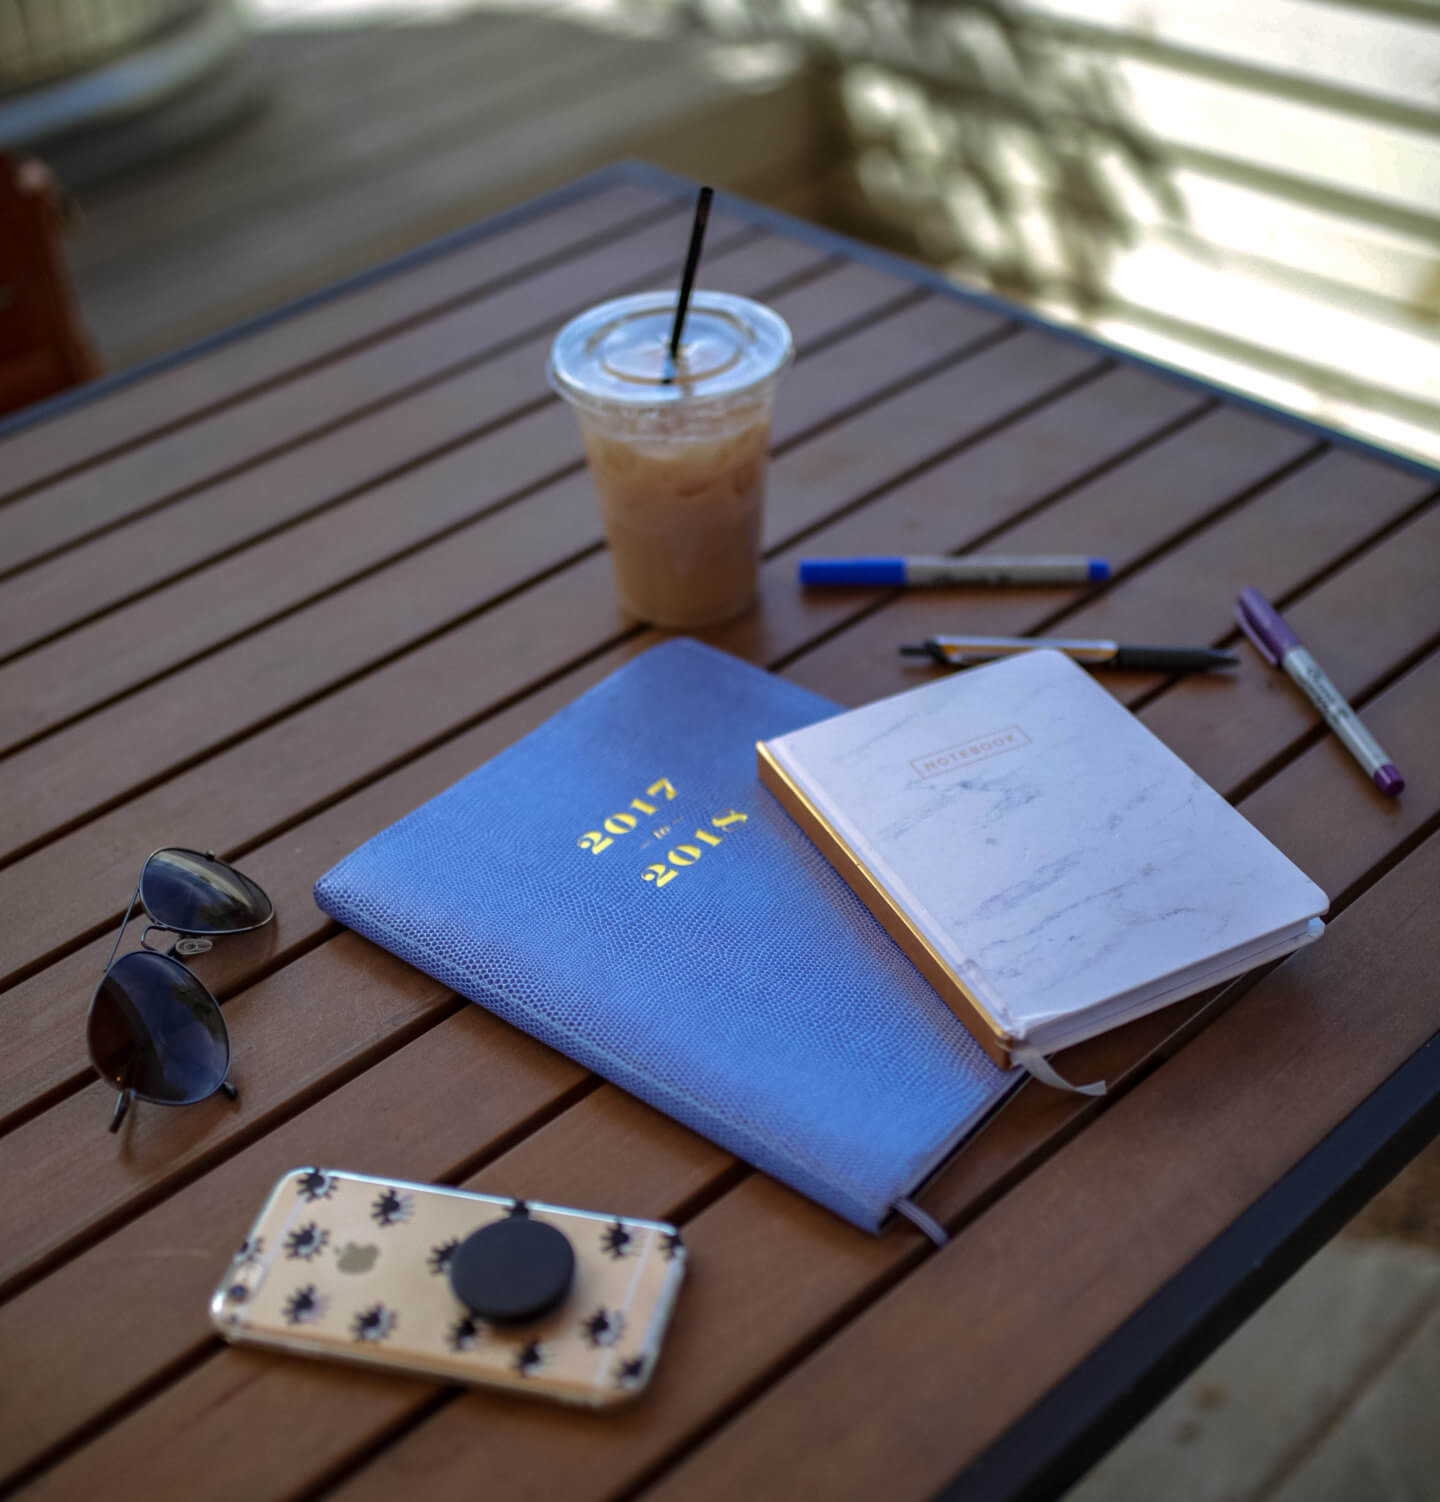
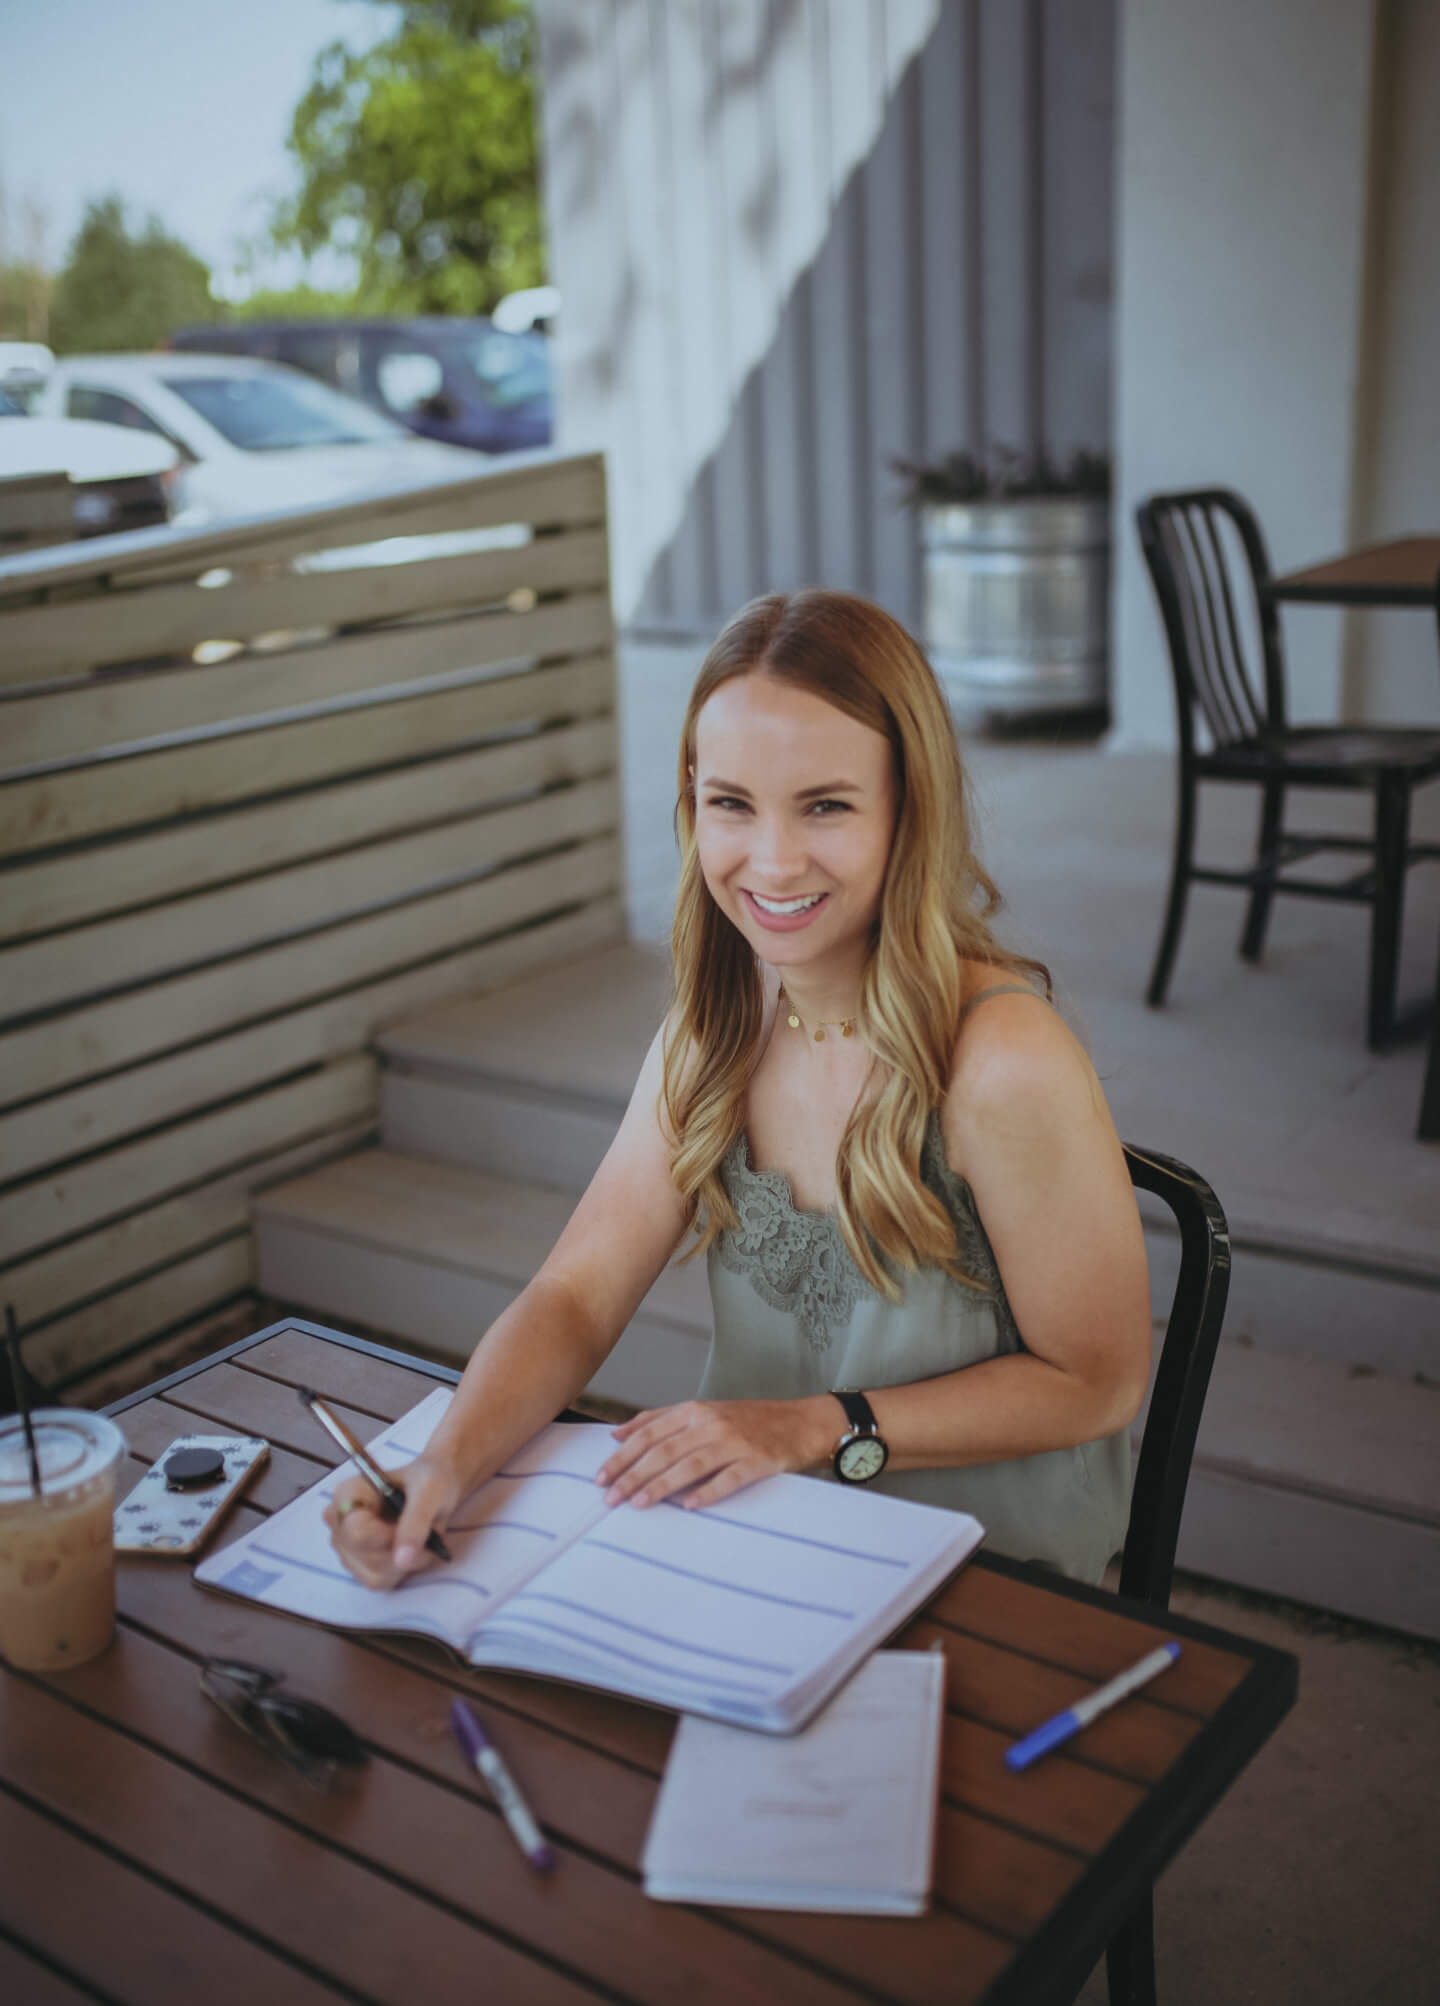
My planner is from Target last year – so it isn’t available anymore. It’s the Day Designer collab for Blue Sky. I recommend a planner that has big open sections for each day. Personally, I like a blank space to time block, as opposed to a planner already including a time stamp layout.
In terms of pens, highlighters, tapes, and all of that I really don’t go crazy with my planner. I like my planner to do its job and keep me on task. Personally, when I bring in all of these other products I get too carried away with making everything look pretty. Like I had mentioned earlier. So I stick to a black pen to write everything in and then either a blue or purple sharpie pen to cross stuff out or underline something I really need to get done.
If you want you can use a different color pen to categorize tasks. I usually write a blog post that is due, or going live with pink so I am aware if I need to do any marketing for that day. Other than that, I stick to a simple black pen.

THE PROCESS
1.MAKE YOUR TO-DO LIST
The first thing I do when I’m setting up my planner is to make my to-do list. I typically try to plan out my day every morning around 8 am and make a list of what I have to get done that day.
If you are just starting out with time blocking I suggest writing down how long each task will take next yo your to-do list. This way you can schedule your day out accordingly and can mix around longer and shorter tasks. Try to keep each task under an hour or time blocking won’t be as effective.
**NOTE Since I am currently working from home, I never know what my week is going to look like. I only set up my week when it comes to the monthly view of my planner. I’ll add in important things I need to remember like birthdays or appointments.**
2. ASSIGN TIME SLOTS TO EACH TASK
Once I make my to-do list I then start to plan out my day in time sections. I start from around 9 am and go until about 5-6 pm depending on what all I have going on. I try to stick to this specific time gap so that I am not working until late at night.
After I make my to-do list I start writing down what I need to do and when in my planner. My brain works better in the morning, so I try to do my more time consuming, work-related tasks in the morning. Then I start making time intervals and assigning tasks to each slot.
I like to label my time slots in accordance to my tasks, as opposed to the other way around. But, you can do whatever works best for you!
EXAMPLE:
9-930 catch up on emails
930-1030 finish blog post
1030-11 devotion
11-1130 finish about us page for The Cheeky Lemon
1130-12 lunch
12-1 walk Quin
1-130 workout
You know yourself best, and how long a certain task will take to get completed. The key to staying on task, and to ensure you get everything done is to not allow yourself too much extra time for a simple task. Let’s say I need to e-mail Houston hotels and know it will probably take me about 30 minutes from start to finish. Book in only those 30 minutes to get a task done. Since you are trying to stay on schedule you won’t get sidetracked, because you know that once it hits a certain time you will need to move on. I think this is the key to really keeping yourself on task.
WHAT I SCHEDULE:
I schedule in EVERYTHING. It might seem a little bit excessive, but it’s what works best for me. Once I started using this method to plan, my productivity was better than it’s ever been. I never felt like my day was too short, and I was always getting my important tasks done.
I always schedule my walk with Quinn, workout, and my lunch. It is very helpful for me to know when I’m going to have a break, and it helps me stay motivated and stay on task. If you’re someone who works from home I recommend taking a short break to go for a walk or run during the late afternoon. It’s really nice to have a break from your computer screen and actually get outside while it’s sunny!
Apart from blocking out time for life, I of course block out time for blogging, store tasks, and everything else.

Think of it as a true schedule, and try your best to stick to it. Of course, no one is going to be yelling at you if you go over your time slot, so don’t be too hard on yourself! I swear by this, and hope this post was helpful for you guys!
Photos by Emily Marie
